


Swagger产生背景
随着互联网技术的发展,现在的网站架构基本都由原来的后端渲染,变成了:前端渲染、先后端分离的形态,而且前端技术和后端技术在各自的道路上越走越远。 前端和后端的唯一联系,变成了API接口;API文档变成了前后端开发人员联系的纽带,变得越来越重要,swagger就是一款让你更好的书写API文档的框架,而且swagger可以完全模拟http请求,入参出参和实际情况差别几乎为零。
没有API文档工具之前,大家都是手写API文档的(维护起来相当困难),在什么地方书写的都有,有在confluence上写的,有在对应的项目目录下readme.md上写的,每个公司都有每个公司的玩法,无所谓好坏。但是能称之为“框架”的,估计也只有Swagger了。
Swagger介绍
Swagger 是一个规范和完整的框架,用于生成、描述、调用和可视化 RESTful 风格的 Web 服务。
作用:接口的文档在线自动生成;功能测试。
-
号称世界上最流行的api框架
-
RestFul风格API文档在线自动生成工具=>API文档与API定义同步更新
-
直接运行,可以在线测试API接口
-
支持多种语言(如java、php等)
在项目中使用Swagger需要springfox;
-
Swagger2:Springfox Swagger2
SpringBoot集成Swagger
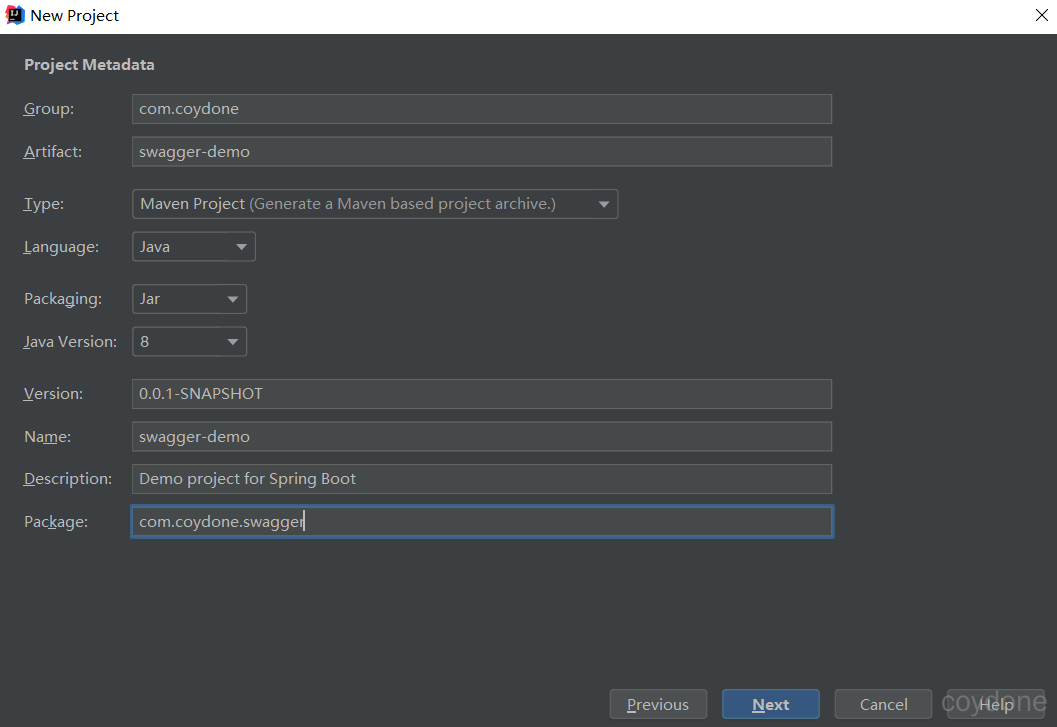
1、新建一个SpringBoot的Web项目
2、导入相关依赖
<dependency>
    <groupId>io.springfox</groupId>
    <artifactId>springfox-swagger-ui</artifactId>
    <version>2.9.2</version>
</dependency>
<dependency>
    <groupId>io.springfox</groupId>
    <artifactId>springfox-swagger2</artifactId>
    <version>2.9.2</version>
</dependency>
3、编写一个Hello工程
package com.coydone.swagger.controller;
//http://localhost:8080/hello
@RestController
public class HelloController {
    @RequestMapping("/hello")
    public String hello(){
        return "hello";
    }
}
4、配置Swagger,使用Config配置类
package com.coydone.swagger.config;

@Configuration
@EnableSwagger2  //开启Swagger2
public class SwaggerConfig {
}
5、访问http://localhost:8080/swagger-ui.html。
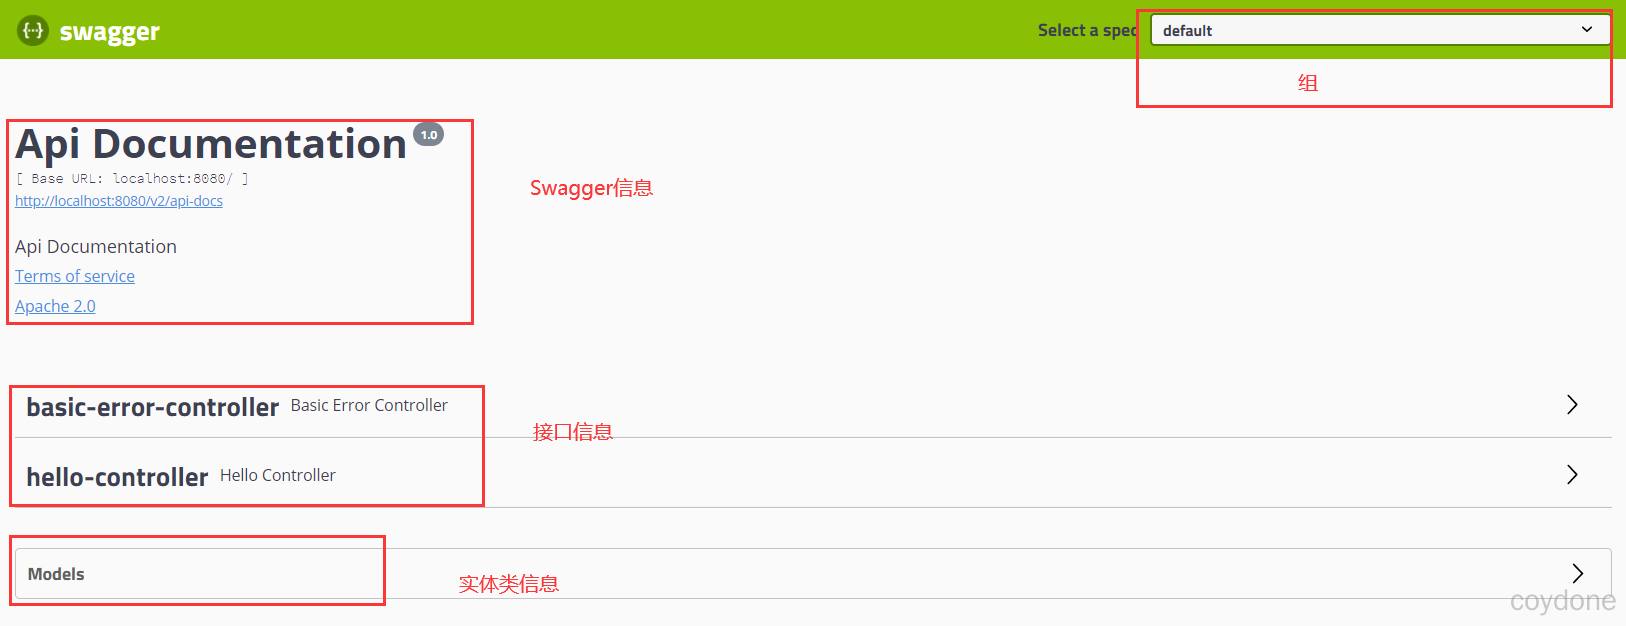
配置Swagger
Swagger的bean实例Docket源码
public class Docket implements DocumentationPlugin {
    // 默认的组,对应页面中的default
    public static final String DEFAULT_GROUP_NAME = "default";
    public Docket(DocumentationType documentationType) {
    	this.apiInfo = ApiInfo.DEFAULT;
        this.groupName = "default";
        this.enabled = true;
        this.genericsNamingStrategy = new DefaultGenericTypeNamingStrategy();
        this.applyDefaultResponseMessages = true;
        this.host = "";
        this.pathMapping = Optional.absent();
        this.apiSelector = ApiSelector.DEFAULT;
        this.enableUrlTemplating = false;
        this.vendorExtensions = Lists.newArrayList();
        this.documentationType = documentationType;
    }
}
// api信息
public class ApiInfo {
    public static final Contact DEFAULT_CONTACT = new Contact("", "", "");
    public static final ApiInfo DEFAULT;
    private final String version;// 版本 1.0
    private final String title;// 标题  Api Documentation
    private final String description;// 描述 Api Documentation
    private final String termsOfServiceUrl;// 服务条款路径 urn:tos
    private final String license;// 许可证 Apache 2.0
    private final String licenseUrl;// 地址:http://www.apache.org/licenses/LICENSE-2.0
    private final Contact contact;// DEFAULT_CONTACT
    private final List<VendorExtension> vendorExtensions;// new ArrayList()
	......
    static {
        DEFAULT = new ApiInfo("Api Documentation", "Api Documentation", "1.0", "urn:tos", DEFAULT_CONTACT, "Apache 2.0", "http://www.apache.org/licenses/LICENSE-2.0", new ArrayList());
    }
}
public class DocumentationType extends SimplePluginMetadata {
    public static final DocumentationType SWAGGER_12 = new DocumentationType("swagger", "1.2");
    public static final DocumentationType SWAGGER_2 = new DocumentationType("swagger", "2.0");
    public static final DocumentationType SPRING_WEB = new DocumentationType("spring-web", "1.0");
}
我们只需在自己的配置类中按照它给我们提供的样式自定义。
package com.coydone.swagger.config;

import org.springframework.context.annotation.Bean;
import org.springframework.context.annotation.Configuration;
import springfox.documentation.service.ApiInfo;
import springfox.documentation.service.Contact;
import springfox.documentation.spi.DocumentationType;
import springfox.documentation.spring.web.plugins.Docket;
import springfox.documentation.swagger2.annotations.EnableSwagger2;

import java.util.ArrayList;

@Configuration
@EnableSwagger2  // 开启Swagger2
public class SwaggerConfig {
    //配置了Swagger的Docket的bean实例
    @Bean
    public Docket docket(){
        return new Docket(DocumentationType.SWAGGER_2).apiInfo(apiInfo());
    }

    //配置swagger信息  apiInfo
    private ApiInfo apiInfo(){
        //作者信息
        Contact contact = new Contact("coydone", "https://www.coydone.com/", "coydone@163.com");
        return new ApiInfo("coydone的SwaggerAPI文档",
                "学习java,学习编程",
                "1.0",
                "https://www.coydone.com/",
                contact,
                "Apache 2.0",
                "http://www.apache.org/licenses/LICENSE-2.0",
                new ArrayList()
        );
    }
}
Swagger配置扫描接口
Docket.select()
//配置了Swagger的Docket的bean实例
@Bean
public Docket docket(){
    return new Docket(DocumentationType.SWAGGER_2)
            .apiInfo(apiInfo())
            .select()
            //RequestHandlerSelectors:配置要扫描接口的方式
            //basePackage():指定要扫描的包   any():扫描全部  none():不扫描
            //withClassAnnotation(RestController.class):扫描类上的注解,参数是一个注解的反射对象
            //withMethodAnnotation(GetMapping.class):扫描方法上的注解
            .apis(RequestHandlerSelectors.basePackage("com.coydone.swagger.controller"))
            //paths():过滤什么路径
            .paths(PathSelectors.ant("/coydone/**"))
            //工厂模式
            .build();
}
配置是否启动Swagger
public Docket docket(){
    return new Docket(DocumentationType.SWAGGER_2)
            .apiInfo(apiInfo())
            //默认为true 启动Swagger,如果为false,则在浏览器中无法访问Swagger
            .enable(false)
            .select()
          .apis(RequestHandlerSelectors.basePackage("com.coydone.swagger.controller"))
            .build();
}
我只希望我的Swagger在开发环境中使用,在生产环境中不使用?
-
判断是不是生产环境:flag=false
-
注入enable(flag)
演示:在application.properties中
spring.profiles.active=dev
新建application-dev.properties →server.port=8081
新建application-pro.properties →server.port=8082
修改SwaggerConfig配置类
@Bean
public Docket docket(Environment environment){
    //设置要显示的Swagger环境
    Profiles profiles = Profiles.of("dev");
    //判断是否处在自己设定的环境当中
    boolean flag = environment.acceptsProfiles(profiles);
    return new Docket(DocumentationType.SWAGGER_2)
            .apiInfo(apiInfo())
            .enable(flag)
            .select()
          .apis(RequestHandlerSelectors.basePackage("com.coydone.swagger.controller"))
            //.paths(PathSelectors.ant("/coydone/**"))
            .build();
}
http://localhost:8081/swagger-ui.html:开发环境可以访问。
http://localhost:8082/swagger-ui.html:生产环境不能访问。
配置API文档的分组
.groupName("A")
设置多个分组:多个Docket实例即可
@Bean
public Docket docket1(){
    return new Docket(DocumentationType.SWAGGER_2).groupName("A");
}
@Bean
public Docket docket2(){
    return new Docket(DocumentationType.SWAGGER_2).groupName("B");
}
@Bean
public Docket docket3(){
    return new Docket(DocumentationType.SWAGGER_2).groupName("C");
}
API注释
package com.coydone.swagger.pojo;

import io.swagger.annotations.ApiModel;
import io.swagger.annotations.ApiModelProperty;
//给生成的文档加注释
//@Api(value="注释")
@ApiModel("用户实体类")
public class User {
    @ApiModelProperty("用户名")
    public String username;
    @ApiModelProperty("密码")
    public String password;
}
package com.coydone.swagger.controller;

@Api(tags = "hello 控制类")
@RestController
public class HelloController {
    @GetMapping("/hello")
    public String hello(){
        return "hello";
    }
    //只要我们的接口中,返回值中存在实体类,它就会被扫描到Swagger中
    @ApiOperation("post测试类")
    @PostMapping("/user")
    public User user(){
        return new User();
    }
    //Operation接口,放在方法上
    @ApiOperation("get测试类")
    @GetMapping("/hello2")
    public String hello2(@ApiParam("用户名") String username){
        return "hello"+username;
    }
}
总结:
1、我们可以通过Swagger给一些比较难理解的属性或者接口增加注释信息。
2、接口文档实时更新。
3、可以在线测试。
【注意点】在项目正式发布的时候,关闭Swagger。出于安全考虑。而且节省运行的内存。


评论区